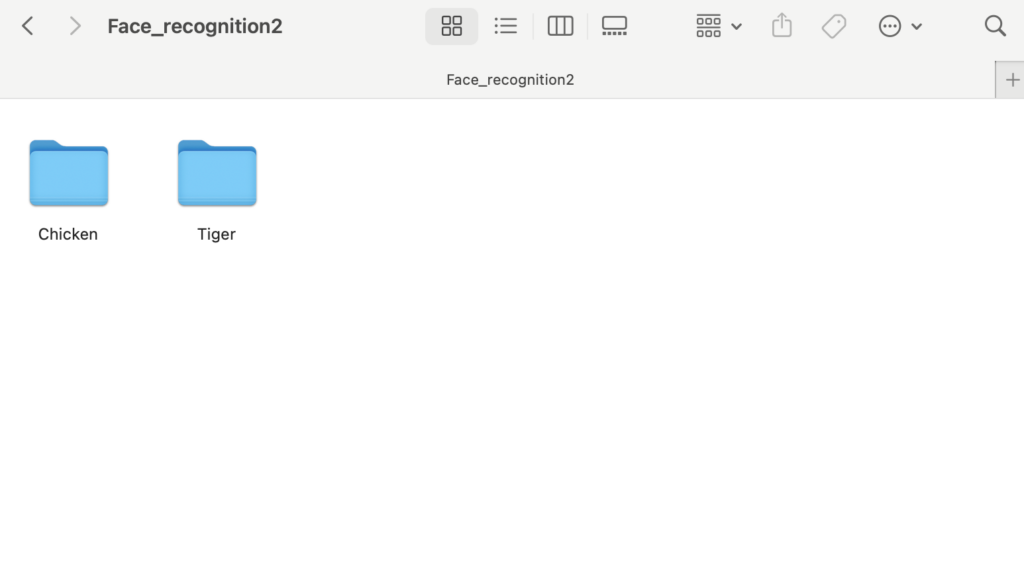
I used OpenCV’s built-in face recognizer and trained it using all of the images I downloaded from Google in these two folders.
There are three modules we need to import – os, cv2 and numpy.
import os
import cv2 as cv
import numpy as np- Create a list of all the animals in the folders, in my case chicken and tiger.
- Create a variable and set it equal to the base folder that contains the 2 folders of the image of the animals.
- Create two lists for storing the training set called features and labels. The features are the image array of the animals whereas the second list is the corresponding labels.
- Create a function to set up the training set for the model.
animals = ['Chicken','Tiger']
DIR = r'/Users/richzha/Desktop/CV/Face_recognition2'

features = []
labels = []

def create_train():
In the Function:
- First loop over all the animals in the list.
- Grab the path for that particular animal by joining the path of the base folder to the name of the animal.
- Create a label for the images e.g. tiger
    for animal in animals:
        path = os.path.join(DIR, animal)
        label = animals.index(animal)
Now that we are inside each folder, we are going to loop through all the images in that folder.
- Grabe the path for that particular image in the folder of the animal.
- Read in that image from the path.
- Convert the image to a gray scale
- Append the gray image to the features list and append the label of the animal to the labels list.
for img in os.listdir(path):
    img_path = os.path.join(path, img)
    if img_path.endswith("jpeg") or img_path.endswith("jpg"):

        img_array = cv.imread(img_path)
        gray = cv.cvtColor(img_array, cv.COLOR_BGR2GRAY)

        features.append(gray)
        labels.append(label)
Now the training function is complete and it could be called on the main code.
create_train()After that, we can use the features and labels list to train our recognizer.
- Convert the features and labels list to numpy arrays.
- Instantiate our face recognizer as an instance of cv.face.LBPHFaceRecognizer_create() class.
- Train the recognizer on the features list and labels list.
- Save the features and labels list for later use.
- Save the trained model in a .yml source file so that we can use it in another file.
features = np.array(features, dtype=object)
labels = np.array(labels)

face_recognizer = cv.face.LBPHFaceRecognizer_create()

face_recognizer.train(features, labels)

face_recognizer.save('Tiger_chicken_trained.yml')

np.save('Features_tiger_chicken.npy', features)
np.save('Labels_tiger_chicken.npy', labels)
By now, the model for detecting tigers and chickens is successfully trained.
Appling the Trained Model
Create a new file, read in the trained model in the .yml file and create a list of all the animals.
import numpy as np
import cv2 as cv

TC_recognizer = cv.face.LBPHFaceRecognizer_create()
TC_recognizer.read('Tiger_chicken_trained.yml')

people = ['Chicken','Tiger']
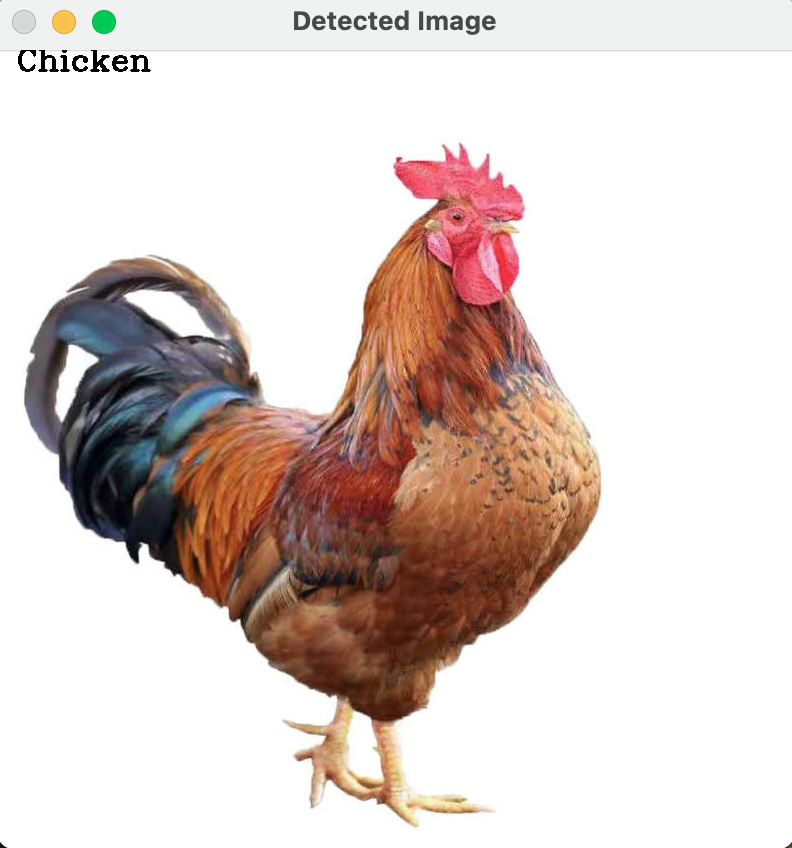
- Select an image of a chicken and read that image in using OpenCV
- Convert the selected image to a gray-scale image.
- Predict what animal it is using the face recognizer. Create the label and confidence value variables which is assigned to the output of the trained model.
- Print the output from the model.
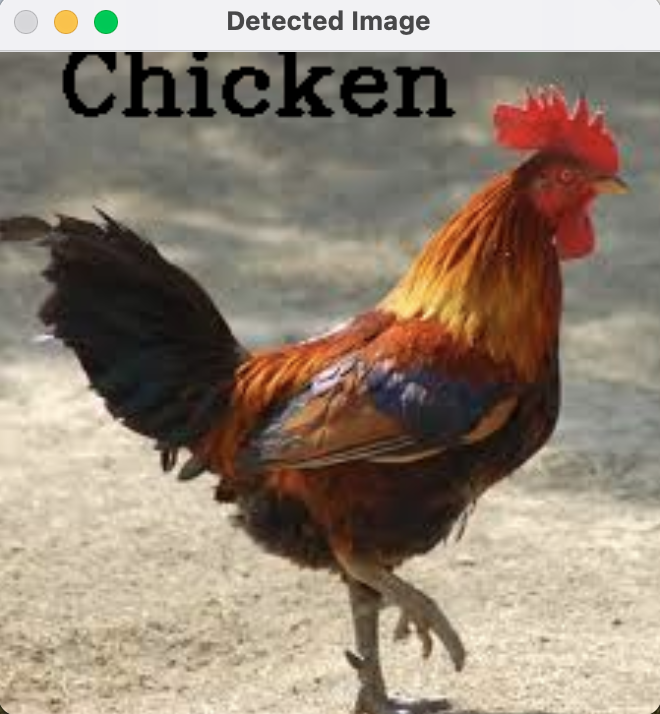
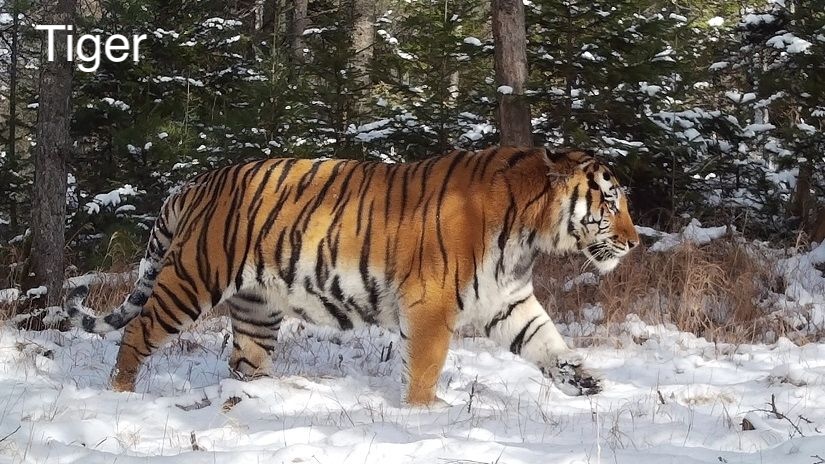
- Put the label on the image passed to the model and output that image.
img = cv.imread('/Desktop/CV/Face_recognition2/Chicken/Chicken.jpg')
gray = cv.cvtColor(img, cv.COLOR_BGR2GRAY)


label, confidence = TC_recognizer.predict(gray)

print(f'Label = {people[label]} with a confidence of {confidence}')

cv.putText(img, str(people[label]), (20,20), cv.FONT_HERSHEY_COMPLEX, 1.0, (0,0,0), thickness=2)

cv.imshow('Detected Image', img)

cv.waitKey(0)
Test with Images
OpenCV 16: Face Recognition