There are three LEDs in PiHAT, namely R (red) Y (yellow) and G (green). A library called “gpiozero” will be used for coding, it is a Python library tailored for Raspberry PI GPIO programming, which makes programming Raspberry PI very easy.
Common commands for the LED
on() #Turns the device on.
off() #Turns the device off.
toggle() #Reverse the state of the device. If it’s on, turn it off; if it’s off, turn it on.
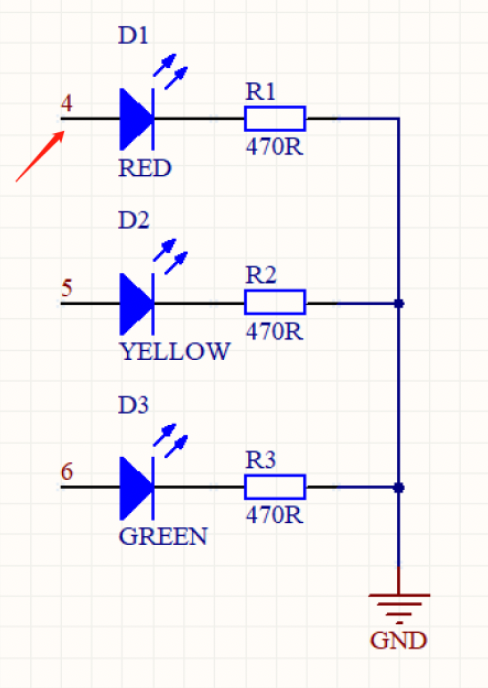
is_lit #Returns True if the device is currently active and False otherwise.Wiring Diagram
As we can see in the wiring diagram, the red LED is connected to pin 4 of the Raspberry PI, the yellow LED is connected to pin 5 of the Raspberry PI, and the green LED is connected to pin 6 of the Raspberry PI.
Code: lighting up a single red LED
The LED module is introduced directly from gpiozero and then the LEDs are lit directly through it.
from gpiozero import LED #import the LED module from the gpiozero library

R = LED(4) #initialize the red LED connected to pin 4
R.on() #turn on the LED

while True: #keep the program executing
	pass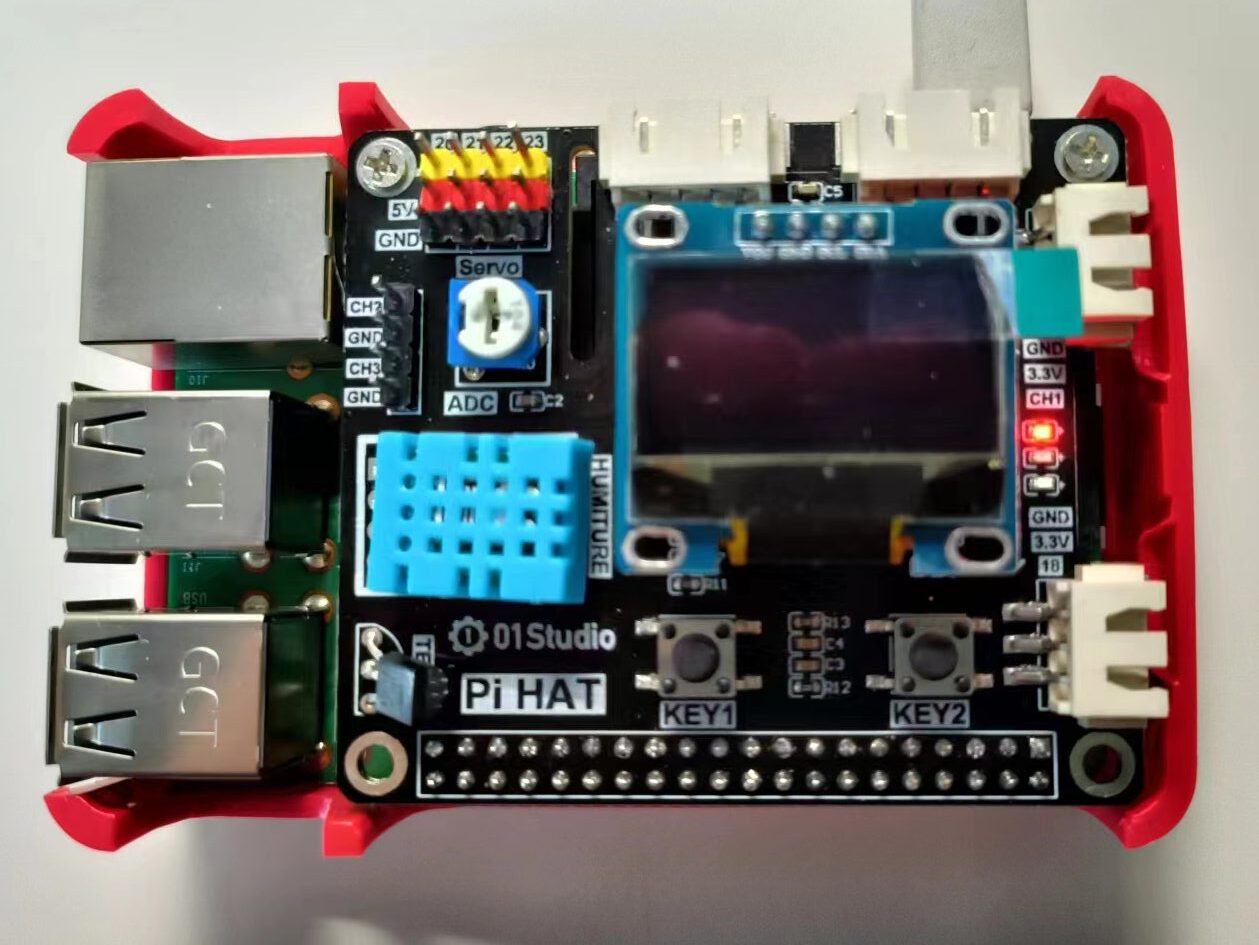
Create a waterfall light
Waterfall light is to let several LEDs turn on and off back and forth, to achieve the effect of waterfall. Now, here to achieve a fixed time to light up and down the LEDs, it needs to use the “sleep” command in the delay module of the time library.
time.sleep(s) #Delay. S is the Delay seconds, which can be enteredCode:
from gpiozero import LED #import LED module
from time import sleep #import sleep module

#initialize the 3 LEDs
R = LED(4)
Y = LED(5)
G = LED(6)

#repeat the cycle
while True:
        #Turn on 1 LED and turn off after 0.2 second
	R.on()
	sleep(0.2)
	R.off()

	Y.on()
	sleep(0.2)
	Y.off()

	G.on()
	sleep(0.2)
	G.off()