The purpose of this is to realize the basic function of taking photos by programming and applying the camera module.
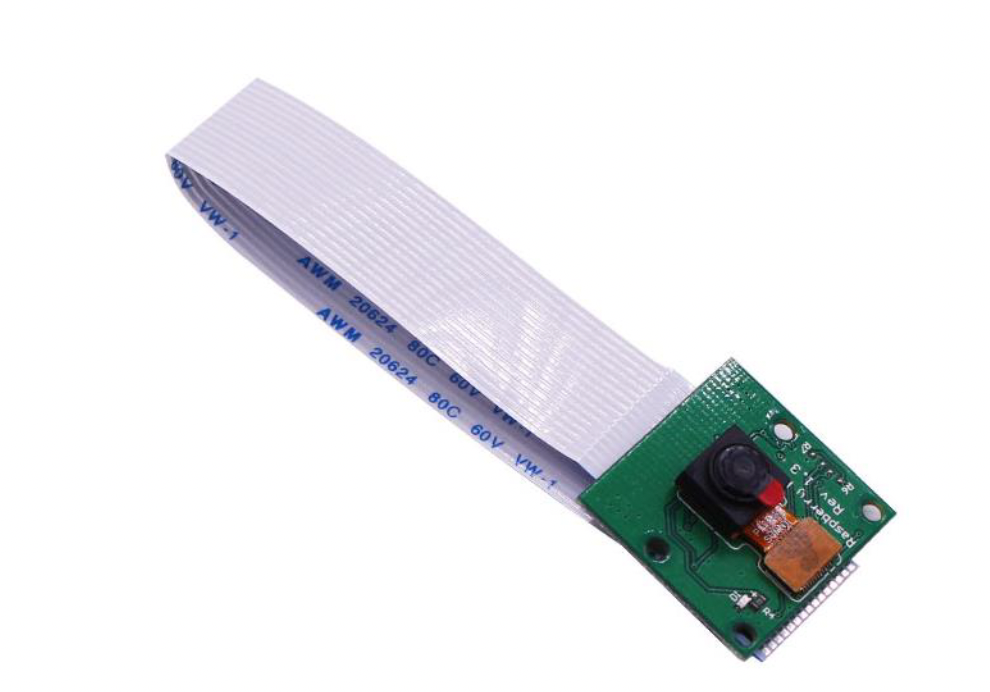
Basic information about this camera:
| Number of Pixels | Five million |
| Resolution | 2592×1944 |
| Size | 25 x 24 x 9 mm |
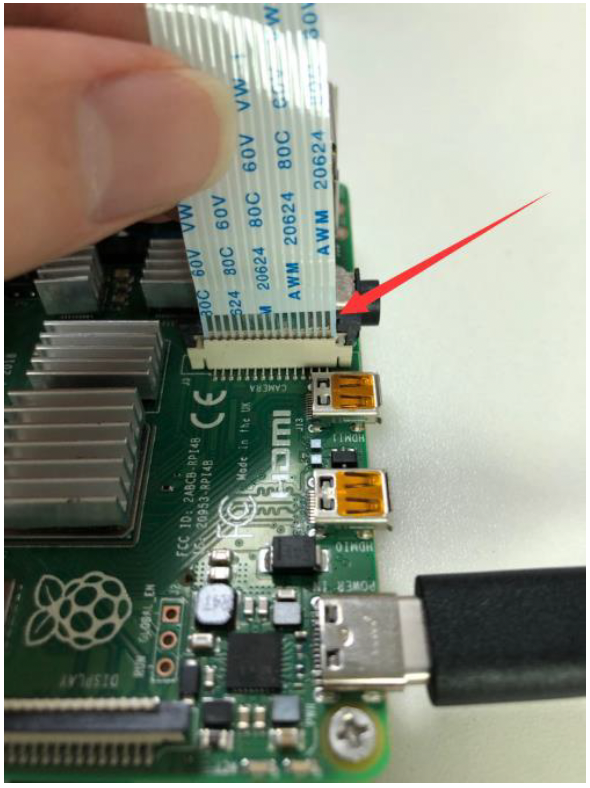
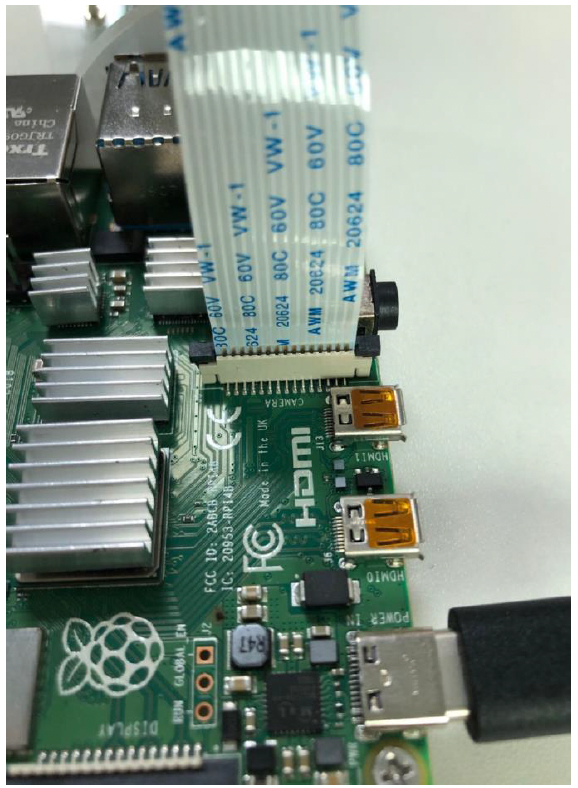
How to install the camera on the the Raspberry Pi?
The installation of the Raspberry PI camera module is very simple. It will be installed on the onboard CSI camera interface of the Raspberry PI. First, pull the interface card up, and then insert the camera cable in the direction below to ensure uniform insertion and it is done.
After finishing installing the camera, a quick way to take a photo using it is to type the following command line in the terminal.
raspistill -o test.jpgWhen enter is pressed, a photo with the name “test.jpg” will be taken using the camera connected to the Raspberry Pi, and then we can go to the default /home/pi path to find the image file we just shot. Once it is opened and there’s an image shown, it indicates that the camera is working.
Control it using Python
For controlling the camera through Python, we can use the official Picamera library, which is already built into the Raspberry PI system, and call it directly through import.
camera = PiCamera() #create the object of a camera

camera.start_preview() #Turn on the camera, executing this command will appear the full screen display of the picture captured by the camera, how ever this is when it is connected to the HDMI

camera.stop_preview() #Turn off the camera

camera.capture(‘/home/pi/Desktop/1.jpg’) #Taking photo, the part in the parenthesis is the path and the name of the picture, here it means that the taken picture is saved to the desktop with the name 1.jpg
Code:
from picamera import PiCamera
from time import sleep

camera = PiCamera()
camera.start_preview()

sleep(1)

for i in range(1):
	camera.capture('/home/richzha/Desktop/'+str(i)+'.jpg')

camera.stop_preview()
Result
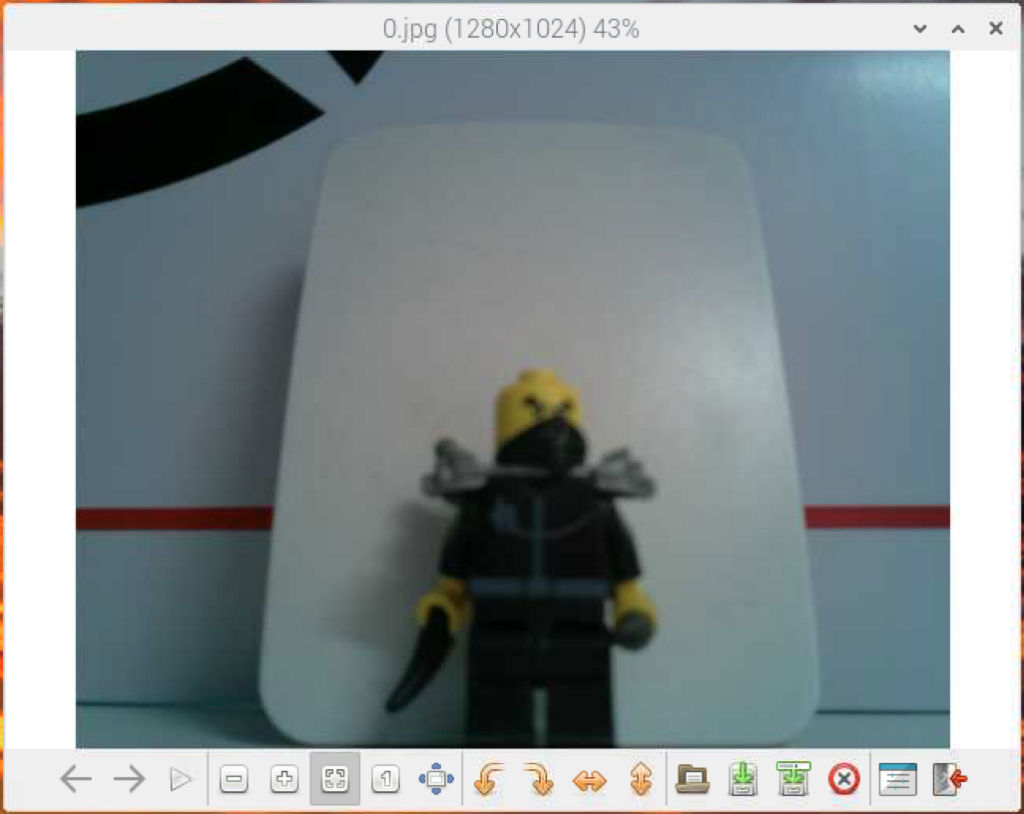
Photo taken by the camera